Adding Trim
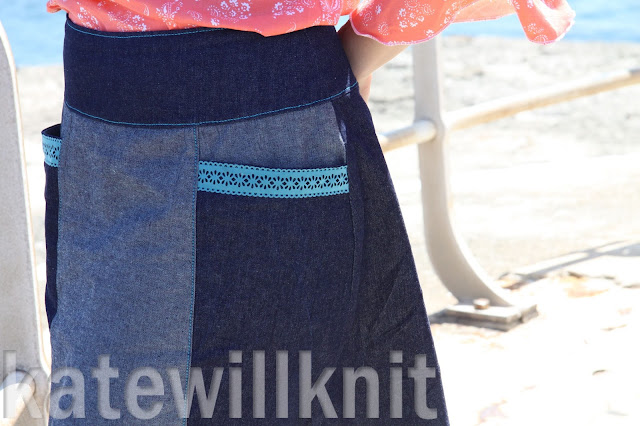
Just a quick post on adding trim to the top of slash pockets.
The pockets in this post are made with one piece folded back upon itself to form the pocket bag.
There is a straight line across the top of the pocket. This is important for this trim. Because of the width of this trim, it won't sit flat on curves - so looks best on straight lines.
Once the pocket is constructed, and everything is sitting nicely, I use fabric glue to carefully position the trim.
The trim extends all the way to the edge of the pattern piece, so that the edges are caught in the seam allowance in later steps.
The top (back) of the pocket is then folded out of the way, and the trim is stitched on to the front and lining of the pocket (two layers).
For this trim, I followed the pattern along the edge, experimenting with different stitch lengths and thread colours until I was happy with one that blended in as much as possible. You may want to consider using invisible thread to sew your trim if you don't have the right shade of thread.
Sew the trim on slowly and carefully, keeping your line of stitching straight, and making sure the trim doesn't buckle as you go.
I sewed this trim down top and bottom so it was secure, and flat against the garment. Other trims (such as fringes or braids) may only require one row of stitching.
And you're done! Something different to liven up a garment. And you're not limited to pockets - just plan ahead, find some straight lines, and (where possible) seams to hide the raw edges, and thereare lots of possibilities for adding trim.
In case you're wondering the skirt in this post is the Megan Skirt by Designer Stitch. (affiliate link)


Comments
Post a Comment